Flooring is meant to be lived on, first and foremost, which means—on occasion—life happens and the floor takes some damage. Depending on how much damage was done, you might want to attempt to fix damaged hardwood floors yourself. We’re here to provide helpful tips on how to approach your repair project—and let you know when it’s time to call in the pros.
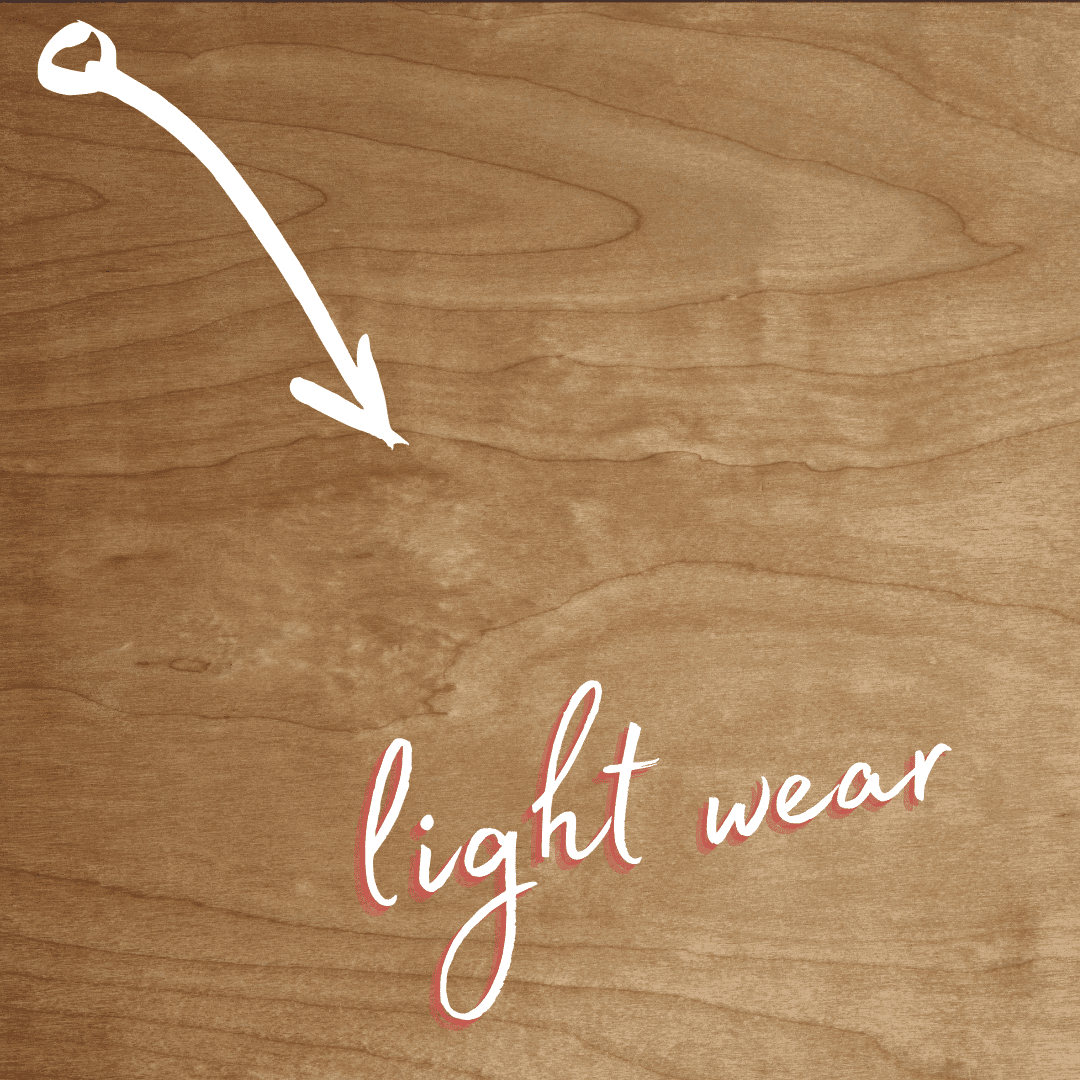
Flooring Damage Type: Wear Spots

These are most often found in high-traffic areas of the home, like your entryway and hallway. Places where the finish and stain have encountered the bottoms of one too many pairs of shoes.
Get yourself a fine-grained piece of sandpaper and sand the affected area, plus an inch or so. You should aim to sand all the way to edge of the board, as this will help maintain aesthetics once the repair is complete.
Next, set up a test area. Look for an out-of-sight stretch of undamaged floorboard, someplace like beneath a couch or bed, and sand off a tiny bit of finish and stain. This will make sense in a minute. If you have unstained natural hardwood flooring, experiment with a few types of floor urethane on your test area to see which provides the closest match. Pay attention to the sheen as well.
The process is similar if your flooring is stained—experiment with the test area to find which floor urethane works the best with your floor’s stain. Apply the stain first, then the urethane, and see which type works best after everything has dried.
After you have determined the right urethane to match your stained hardwood flooring (or unstained hardwood flooring), it’s time to treat the damaged flooring area. Again double check that it’s sanded, then run your vacuum over the area to make sure all particles and debris have been sucked up. Once that’s done, apply your stain (if needed), then apply your chosen urethane after that dries.
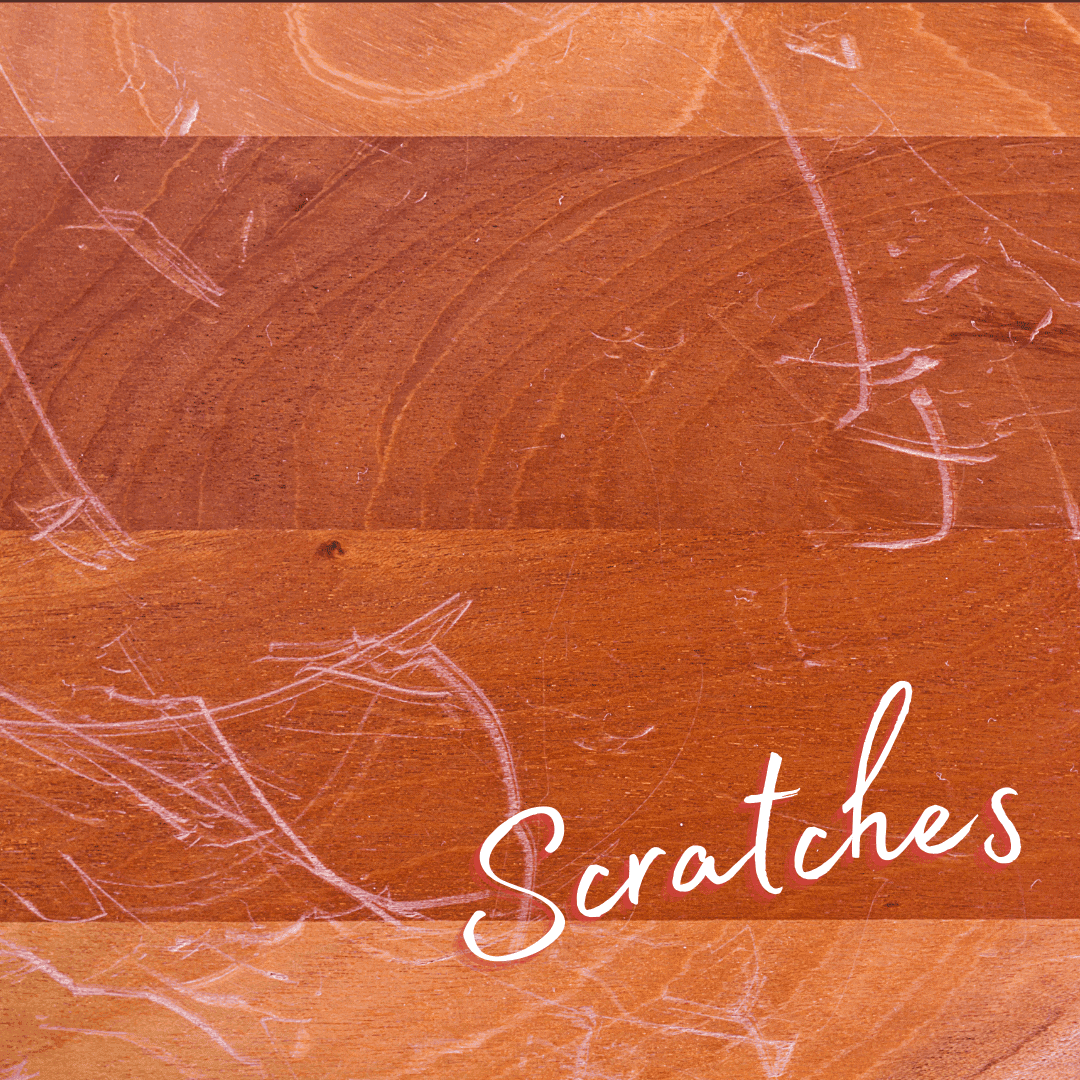
Flooring Damage Type: Scratches

We won’t repeat ourselves too much here, since we have addressed this before. Light surface scratches made by dirty shoes, eager pets, or innate clumsiness (no judgments here!) can be handled with wood treatment products. If it’s more than a minor scratch, refer to the advice above. Sand, test, apply, and stain. More details can be found in our post, Simple Hardwood Floor Scratch Repair.
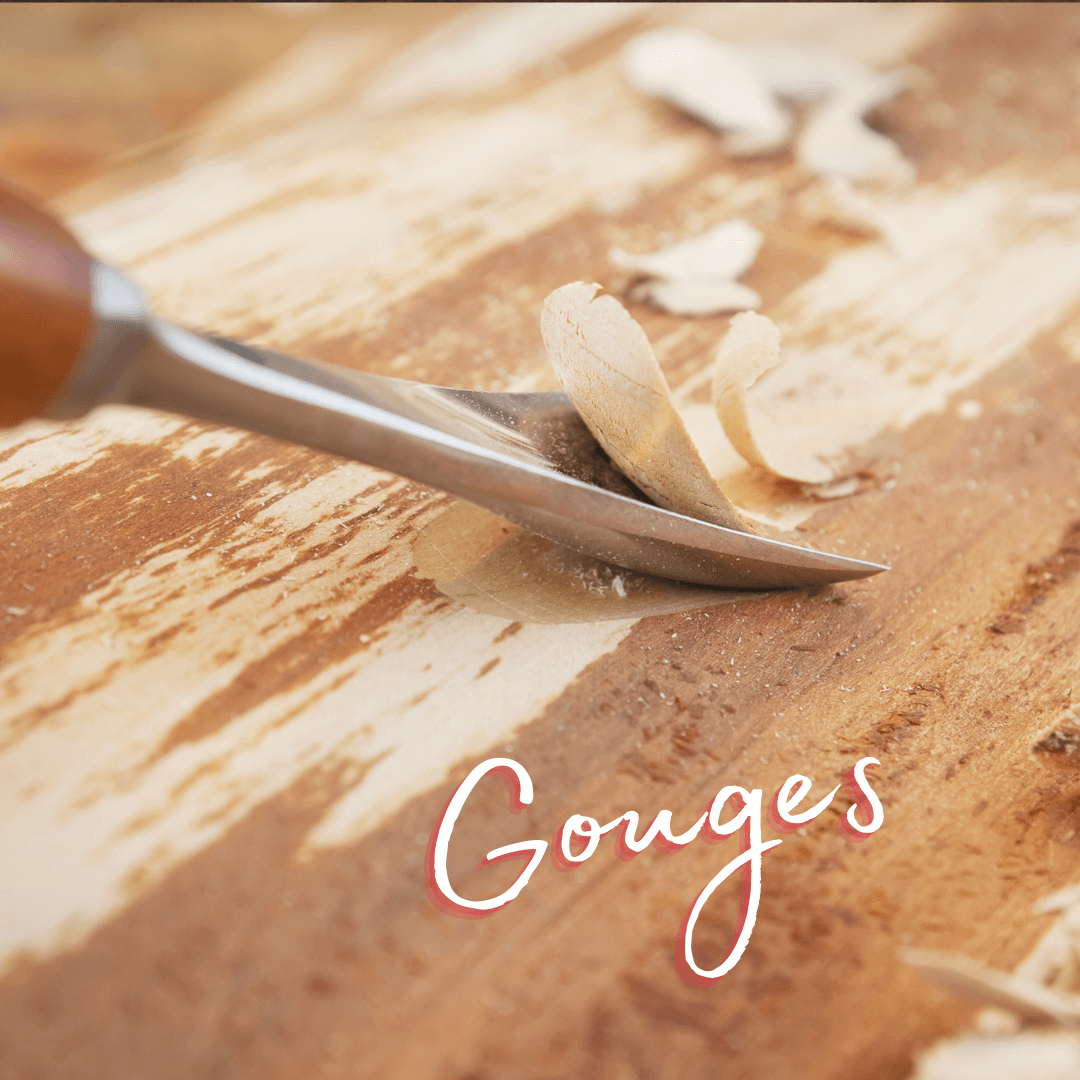
Flooring Damage Type: Gouges

Damage that you can’t charitably call a “scratch” will require a bit more elbow grease. If your hardwood floor is gouged, you’ll want to grab a filler of some kind. You can typically find fillers like this on Amazon. Once your gouge has been leveled out with finishing putty, let it dry, then, you guessed it, sand, test, apply finish (or not) and the urethane of choice.
To fix damaged hardwood floors that exceed wear, scratch, and gouges, your best bet is likely to call in a professional. At Classic Wood Floors, we’re always available to take your questions and help you keep your hardwood floors looking beautiful for years to come. Don’t hesitate to reach out if you run into a repair situation you don’t think you can DIY. Or if you start a DIY and realize it’s more involved than you thought, we’re always here to help you out.
