Hardwood floors are among the most desired type of flooring. In the right market, hardwood floors can add 2.5% to your home value, as 54% of perspective buyers are willing to pay more for hardwood floors. However, as much as we love hardwood floors, we won’t lie—if you want them to remain as beautiful as they were when first installed, be prepared to roll up your sleeves and do some upkeep. Here are some handy steps to follow when it comes to refinishing hardwood floors.
STEP 1: Determine if your hardwood floor needs refinishing
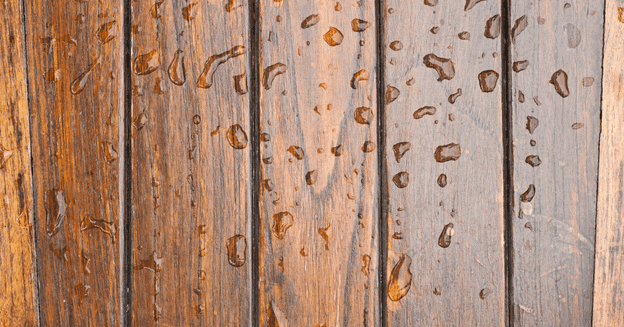
It’s possible all your floor needs is a good scrub and polish. You can test this by dropping a bead of water onto your floor and studying the reaction. If the droplet seeps into the wood, this indicates you have exposed wood fibers, which calls for refinishing hardwood floors. On the other hand, if the drop more or less remains intact, you might be able to get away with a thorough cleaning.

STEP 2: Get your hardwood flooring ready
So you’ve done the water test and the results are—refinishing needed. Make sure your workspace is adequately prepared by doing the following:
- Move your furniture, roll up your rugs, pull up your carpeting.
- Slide a putty knife across the floor to search for protruding nails. Hammer down any you find.
- Secure loose floorboards with finishing nails.
- Sweep, mop, or vacuum the floors to ensure they’re clear of debris.
- Seal the cracks around doors and cover your air vents. This will help keep dust localized to the room you’re working in and not distributed through the air ducts.
STEP 3: Remove the shoe base molding
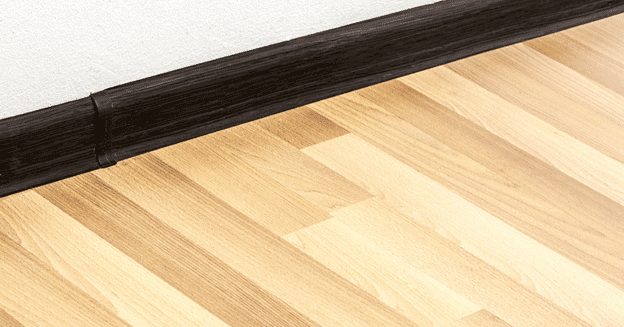
To protect the molding from your sander, remove the shoe base molding (or the base molding, if you don’t have shoe base molding). Be sure to label each piece so you can reattach it after the work is complete.

STEP 4: Have sandpaper ready
There will be places your buffer can’t reach. That’s okay. Just have some 180-grit sandpaper at the ready for nooks and crannies. You’ll also want to rub the grain a minimum of six inches away from the baseboard. Do this until the existing finish goes dull and powdery.
STEP 5: Get the buffer out
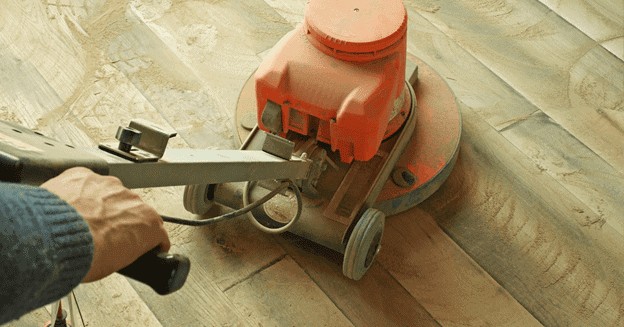
You’ll want a mask for this to keep from inhaling dust particles. Once you have that on and have attached a maroon buffering pad to the buffer, get to work.
Go with the grain—the grain of the wood, that is, as you move the buffer from side-to-side, overlapping each path by a few inches while refinishing hardwood floors.
It will be easy to see where you’ve worked and what places you still need to hit, as the existing finish will turn to powder. You’ll want to keep the buffer in constant motion, though allow yourself breaks every few minutes to vacuum the buffering pad.

STEP 6: Clean up the mess
Give yourself ten to fifteen minutes to let the powder settle. Fit your vacuum with a clean filter, then take it to the floor with a felt-bottom attachment. You’ll work with the floor strips, then sweep across them to round up any powder that managed to slip between cracks in the floorboards.
After all this is done, grab a microfiber cloth and dry-tack the floor, going with the grain.
STEP 7: Prepare the edges
Like with the buffer, you’ll want to make sure your face is protected. We recommend a respirator with organic vapor cannisters. Also, get some booties for your shoes.
Grab a clean, plastic watering can—one without a sprinkler head—and a cone.
Strain the finish into the can with the cone, then pour some of the finish into a plastic container.
Go to the point farthest from the door with a brush and stroke 3-5 inch stripes along the baseboard.
If the edge of the stripe begins to dry, you run the risk of lap marks, so stop after ten minutes.

STEP 8: Time to finish the hardwood
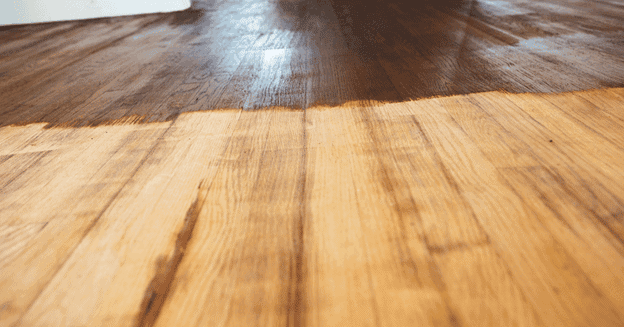
Keeping in line with the grain, pour out a 1-inch stripe of finish. Grab a long-handled roller with a ¼-inch nap cover to roll the finish first along the grain and then across it.
Be sure to overlap your passes and keep the edges wet. Repeat this process every ten minutes or so until the entire floor is covered.
STEP 9: Let it sit
Give your floor a three-hour break before you recoat, and a firm week before reapplying any of the molding you removed and bringing furniture back into the room.
As you can see, a lot goes into keeping your floors in great condition, but hardwood flooring is truly worth the effort. And, if at any time you have a question about the process, give Classic Wood Floors a call. We’re always happy to help.
